9
Aug / 12
Free-Standing Handstand Tips
Categories: Gymnastics, Workout of the Day
posted by: Holley
The free standing handstand is a skill that eludes many of us. Why? It takes LOTS of practice. It’s a great skill for building core strength and learning body control which are both great attributes of an athlete. I found a couple of great blog posts and have done a lot of practicing myself lately, so here are some generalities to get started.
1. Get over your fear
Free standing handstands can seem kind of intimidating, but in all honesty, your body will naturally react to get you back to the ground safely when you get off balance. The best ways to dismount are to tuck and roll like you’re doing a forward roll, and to pivot in the direction you’re falling so you land on your feet. Also, a lot of practice against the wall as well as practicing free standing handstands with a spotter will make you more comfortable being upside down. Worst case, practice in grass or on rubber so if you do fall, you won’t get hurt.
2. The kick up
The best method that I have found for the kick up was a tip from Sean, take a really deep lunge and keep the back leg straight. This allows you to get up into the handstand without a lot of extra momentum which helps you to stay under control. From personal experience, I’ve always had to kick up a little further than I think I have to. It takes some working up to so you don’t flop over, but eventually you’ll find your sweet spot.
3. The hands
Set up with your hands about shoulder width apart with your fingers spread out. Since we don’t have heels like on our feet, you need to depend more on your fingers for stability. Your balance point should be focused on the area around your knuckles and the lower part of your fingers.
4. Shoulders
Like all movements in CrossFit, keep those shoulders engaged, back and down. Don’t let your shoulders shrug up toward your ears.
5. Back and leg position
There are many differing opinions out there about back and leg position. Some say it’s best to learn free standing handstands with your body in a perfectly straight line, others say allowing the back to arch and legs to bend is the best way. Personally, I found the important thing is to keep your abs engaged, regardless of the way your handstand looks. I have found that I’m most stable when my back is partially arched and my legs are slightly bent. This allows me to use my legs and abs to control my stability as I learn to use my hands. The argument for legs straight and together and back straight is to prevent your legs from flopping around and throwing off your balance. Clearly this makes sense as well, so you’ll just have to figure out what works best for you.
6. Head and arm position
The head and arm positions are tied to your back and leg positions, and this is because the spine follows the head. If you’re keeping the back straight, legs straight and together, your head and arms will need to be in that same straight line. You will be looking straight ahead so your hand will be between your arms. If you have an arched back and legs bent, you will more likely be looking straight down at the ground. Again, either method works, you just need to experiment to see which position suits you best.
7. Foot position
Point your toes. This will help you remember to focus on keeping the legs and glutes tight so that your legs don’t flop around out of control and throw of your balance.
Most importantly, I would say keep those abs tight so you stay under control and like everything else, practice, practice, practice! If you’re really interested in getting a free standing handstand, practice at least a little bit every day. Do a couple of handstands just before warm up or just after a WOD. They don’t have to be successful handstands, but just spend a little time upside down in the middle of the room. Check out these two posts for far more descriptive instructions, one from Al Kavaldo and one from Jim Bathurst at Beastskills.com.
WOD 08.09.12
Skills Day


 310.465.6565 |


1 Response to “Free-Standing Handstand Tips”
becky
August 9, 2012 at 9:20 AM
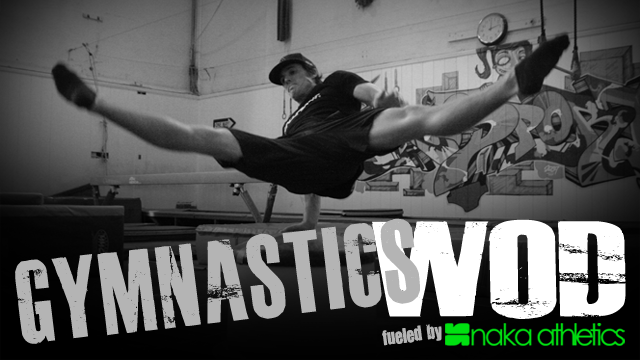
aw love this old school photo of Steph! Nice post Holley!